This article will show you How to Manage DNS Zones in Windows Plesk
DNS (Domain Name System) is a fundamental component of the internet that translates human-readable domain names into IP addresses, making it easier for users to access websites. Managing your DNS zone is crucial for website owners, as it allows you to control where your domain points and how it functions. In this guide, we will walk you through the process of managing your DNS zone using Website Panel (.Net), ensuring that you can effectively make the necessary adjustments.
This step-by-step guide will empower you to take control of your DNS settings and optimize your online presence.
Step 1. Log into Plesk.

Step 2. Click on Hosting & DNS
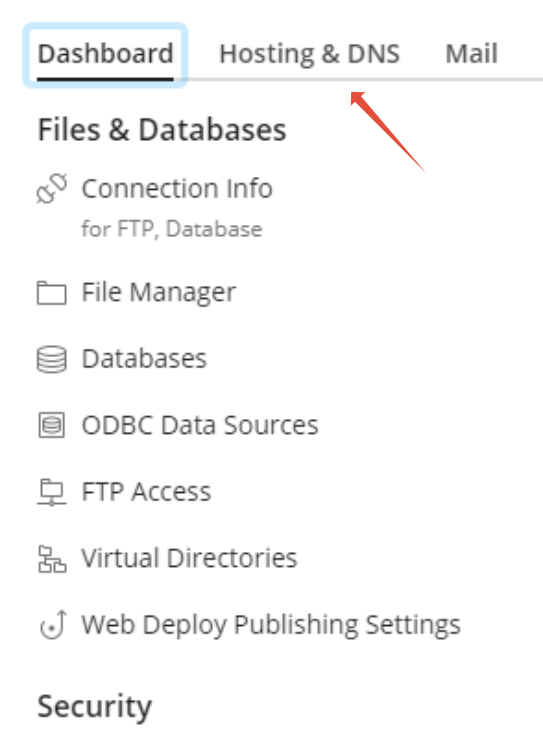
Step 3. Click on DNS Settings

Step 4. Click on Add Record

Step 5. Let’s add an A record, Click on the arrow the choose the Record type
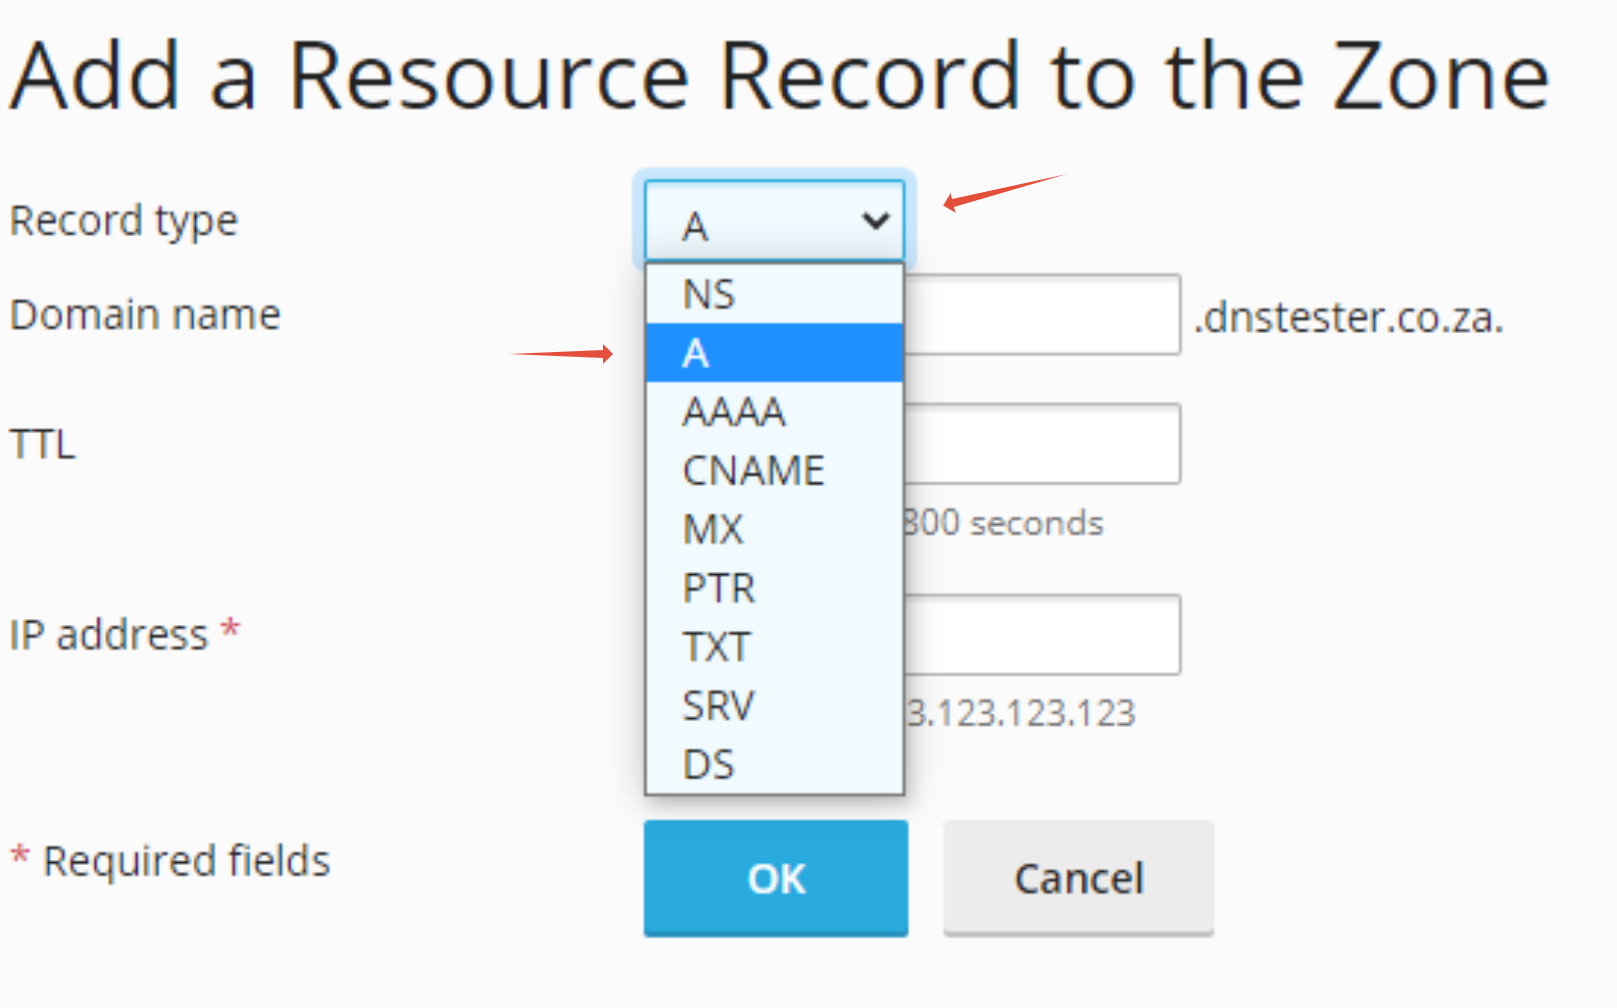
Step 6. Fill in the necessary details then click Ok

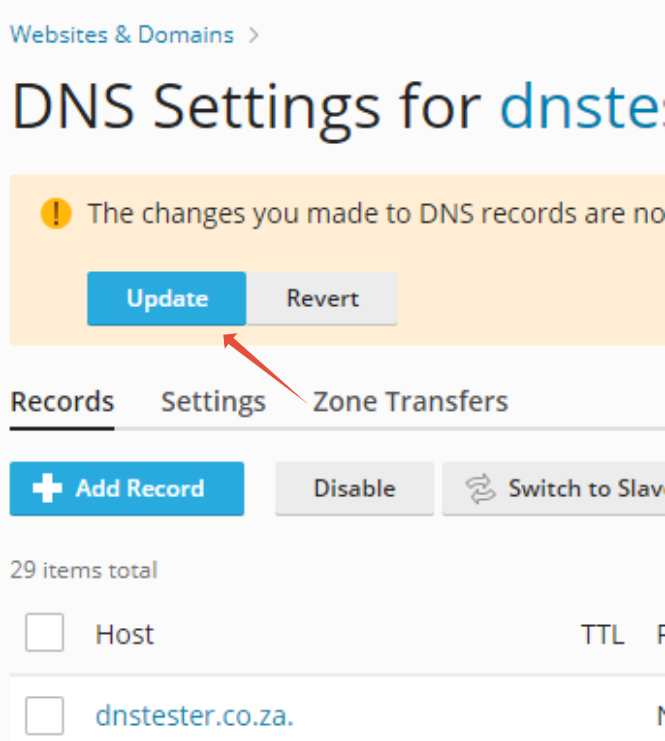
Step 7. Once complete you will need to click on Update for the record to take effect
Frequently Asked Questions
- How long does it take for DNS changes to propagate?
DNS changes can take up to 24 hours to propagate across the internet. During this time, your changes gradually spread to DNS servers worldwide. Keep in mind that some internet service providers and network configurations might experience longer propagation times.